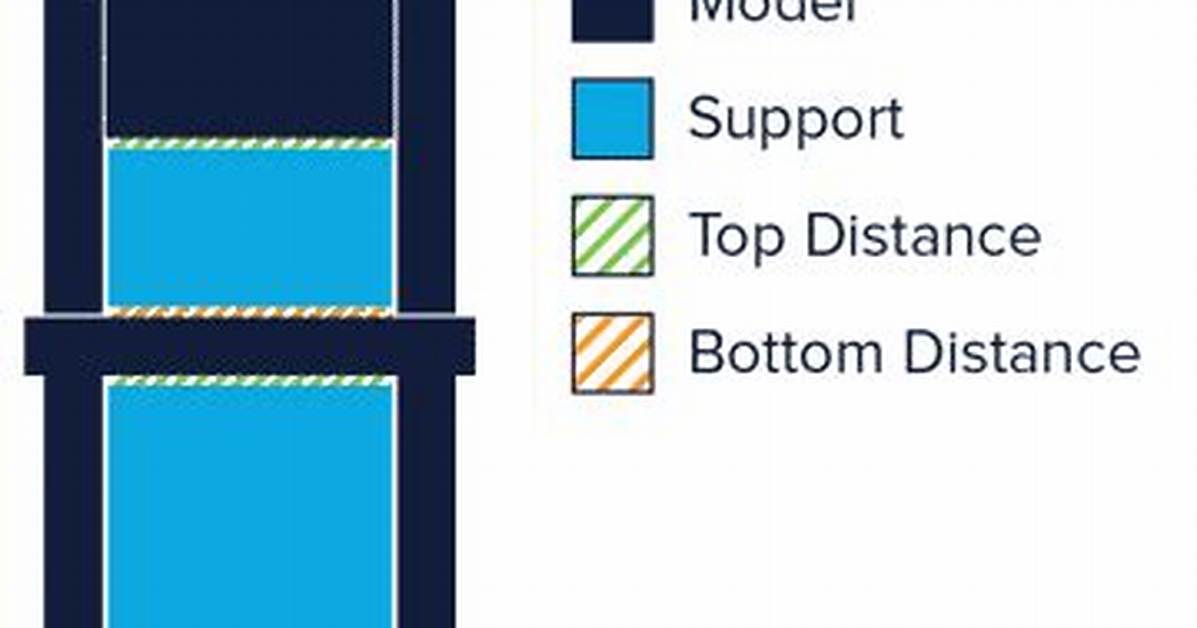
Balancing top Z distance and bottom Z distance shifts 3D printing from an unpredictable hobby into a precise fabrication method. Downward overhangs and upward support floors operate under distinct gravitational constraints and thermal profiles. Treating them identically leads to either structural fusion or sagging perimeters.
By maintaining top Z distance near 1.0x your layer height and raising bottom Z clearance to roughly 1.3x to 1.4x, you isolate the mechanics of bridging from the heat transfer of downward extrusions. Keep your interface layers dense, align clearances with mechanical layer boundaries, and take advantage of multi-material interface separations when surface quality is paramount. Dialing in these two clearance parameters transforms post-processing from an aggressive manual chore into a clean, effortless snap.

